Why choose pre-stretched braiding hair?
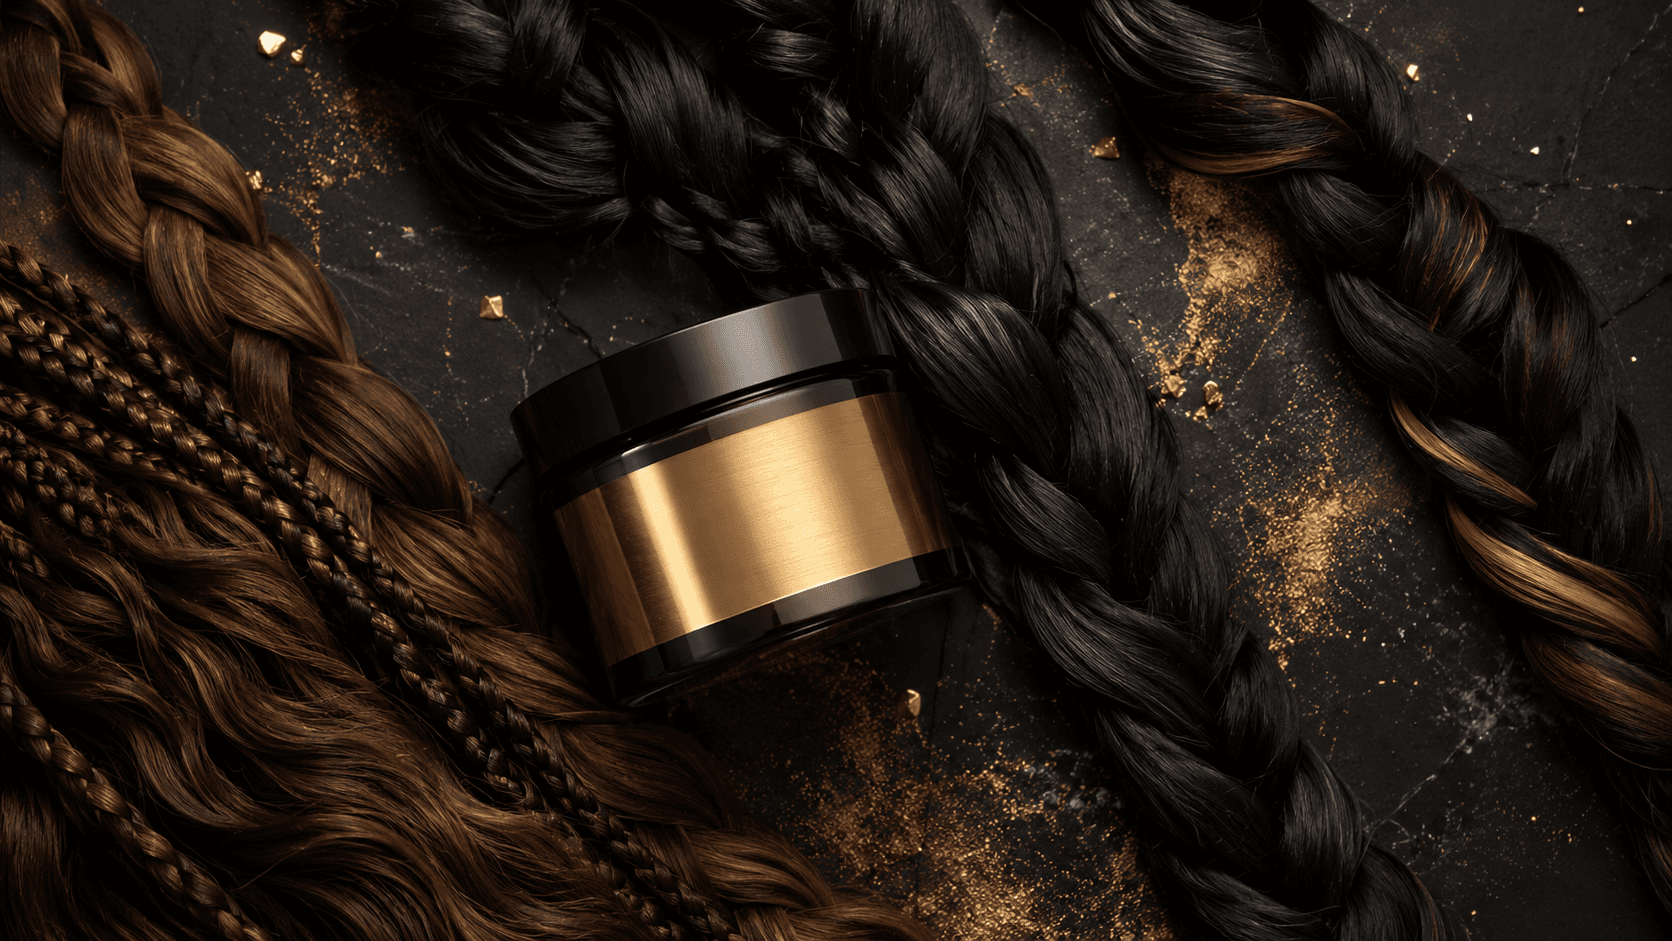
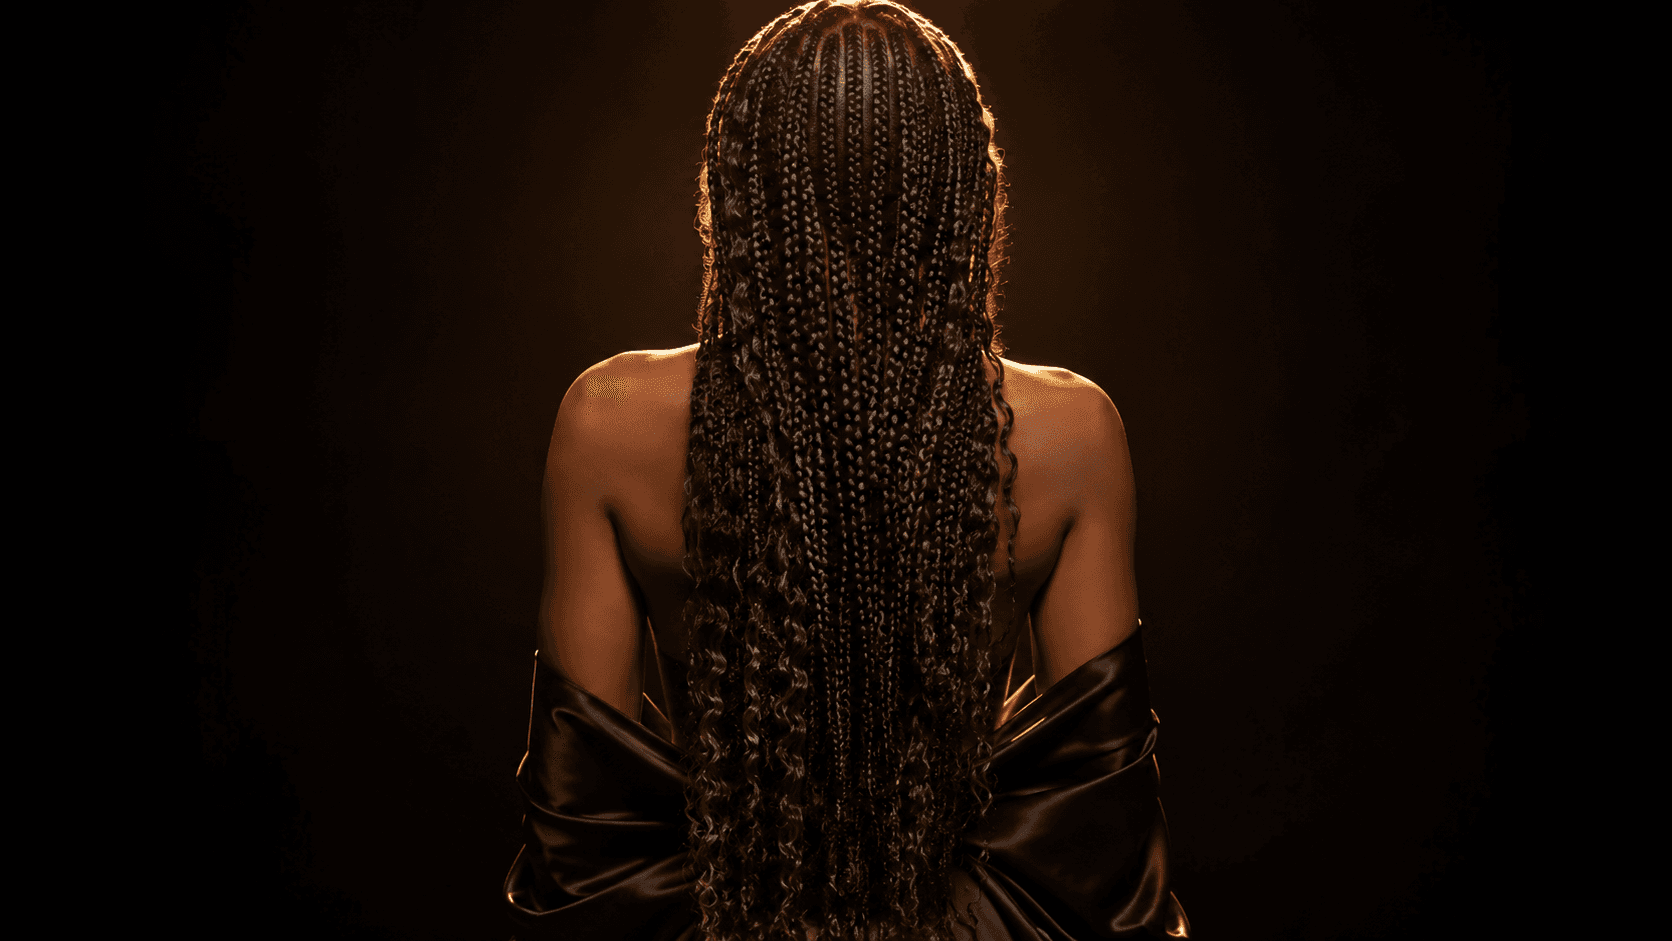
Pre-stretched braiding hair has revolutionized braid installation. It's already stretched and lightly textured, making it lighter, more natural-looking, and much easier to work with.
What you'll need
- 3 to 6 packs of Michouhair pre-stretched braiding hair
- A rat-tail comb
- Black hair elastics
- Gel or Shine JAM to smooth roots
- A moisturizing spray for your natural hair
Step 1 — Prepare your natural hair
Your hair must be clean, moisturized, and detangled. Shampoo and condition the night before. Clean hair = a style that lasts longer.
Step 2 — Separate and prepare the hair
Open your packs and separate into small sections about 1 cm wide. Run each portion between your fingers to fluff it up.
Step 3 — Create your parts
Start at the nape and work upward. Use your comb to trace even horizontal rows:
- Small braids: 1 cm × 1 cm sections
- Medium braids: 1.5 cm × 1.5 cm sections
- Large braids: 2 cm × 2 cm sections
Step 4 — The attachment technique
Fold your extension in half around your natural hair at the root. Begin braiding by incorporating both strands with your own hair. Braid to the end maintaining even tension.
Step 5 — Seal the ends
Dip the tip in hot water for 10 seconds to seal, or tie a small knot at the bottom.
Post-installation care
- Sleep with a satin scarf
- Moisturize your scalp every 2 days
- Don't keep the style longer than 6 to 8 weeks